So, I’m sure a lot of you write Figure Poetry, or whatever it’s called where you write a poem that looks like what it’s describing. Well for this week’s post, I wanted to share a tip, or a time saver if you will, that could help with whatever you’re trying to write your poem as.
Below is an example of what I’ve written before using this trick.
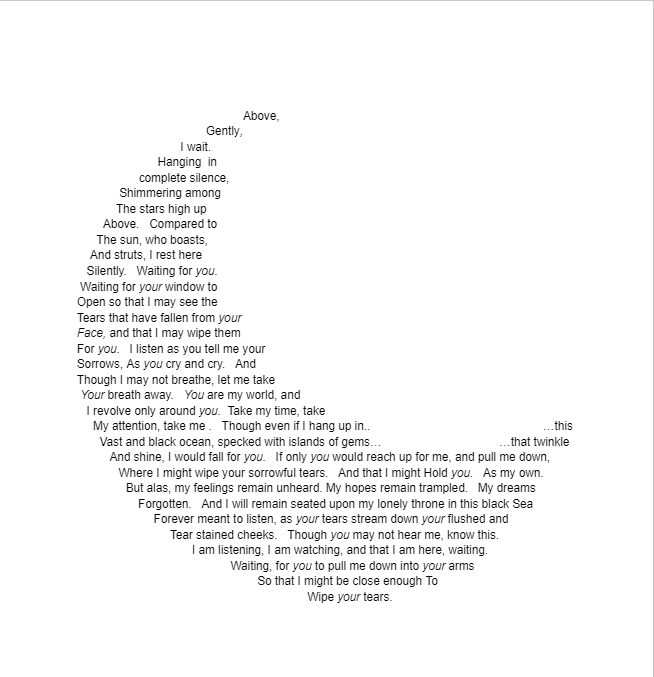
This poem is about how the moon. She wishes she would be pulled down into the arms of her lover. The way I got the figure of the poem was really simple and I’ll explain the process in just a few steps. By the way, I forgot to mention that this is for Google Docs. I’m not sure how to do it for other typing programs.
So first. You’ll want to decide what you want your poem to resemble.
For instance, I chose a simple shape, the moon.
(More complex shapes may be harder to write).
Once you’ve picked your idea, go to Google or some other search engine and look up images of that.
Once you’ve found your perfect image, drag it to your desktop on your computer from the search engine. Your image should now be on your desktop home screen.
From there, you open Google Docs and create a new document.
Drag the image you selected earlier onto the new document.
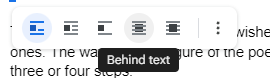
Once you have your image on your new document, you’ll click the image, outlining it in a blue rectangle, bringing up a few options near the bottom of the picture. Among the options you will see a Behind text option. You’ll click that first. (This puts the image behind the words which you’ll be typing later)
Then once You’ve applied that option, you’ll go back and click the three dots option that was just beside it. A group of options will appear, you’ll click on the Adjustments Option, (second to last.) Then a bar will slide out from the right-hand side of your screen.
A number of sliding bars will appear, you’ll want to focus on the Opacity section.
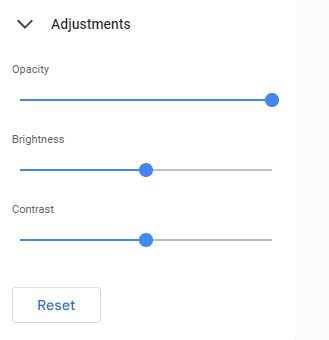
Bring the opacity slider to the left, (this affects the image visibility.) Make sure the image is just barely visible. Then you’ll click off the adjustments area and begin writing. It will take a few tries to get the wording perfectly aligned with the barely visible image, but it will work eventually.
You’ll have to use space, enter, and tab, to get on the right lines.
Once you’ve finished writing your masterpiece, simply click the image, and either drag it off the piece of paper, or click backspace on your keyboard to delete it.
And there you go, a perfect figure poem. I hope this helps!
This is so clever! I’ve always been fascinated by figure poems, but I get really frustrated when I go to format them. This was really helpful!
The poem you wrote is absolutely amazing! Thank you for explaining, I totally want to try this out now. I have a group of characters who each have their own ‘signature shape’- a shape that appears multiple times in their designs and things created for them- and the ideas are running rampant!